Setup
This guide walks you through installing Python and Pipenv, configuring AWS credentials, and setting up Supabase and MinIO locally with Docker.
Python (and Pipenv)
Zap is built using Python 3.9. Ensure it’s installed:
python3 --versionTo manage dependencies, we use Pipenv, a virtual environment tool.
Install it via pip:
pip install --user pipenvVerify installation:
pipenv --versionAWS CLI & Credentials
Zap uses multiple AWS services. Before interacting with them:
Installation
Follow directions at AWS CLI
Configure AWS CLI
aws configureAsk a member of the PCT Tech Team for the credentials.
How to confirm your AWS credentials
Run the following:
cat ~/.aws/credentialsVerify that the access keys match the IAM console on AWS. Or simply confirm with the PCT Tech Team member who gave you them.
Do not share your credentials with anyone.
Example config:
AWS Access Key ID [****************]: YOUR_ACCESS_KEY
AWS Secret Access Key [****************]: YOUR_SECRET_KEY
Default region name [us-east-1]: us-east-1
Default output format [json]: json
Supabase
As of dev/v4.0, Zap uses Supabase for its database, replacing DynamoDB and MongoDB. You’ll run a local Supabase stack using Docker.
Installation
- Install Docker Desktop
- Install Supabase CLI
Important: Do not run supabase init. Supabase is already initialized in the zap repo.
Navigate to the zap directory
cd zapStart the Supabase local stack
supabase startIf successful, you’ll see URLs and keys printed to your terminal:
Started supabase local development setup.

         API URL: http://127.0.0.1:54321
     GraphQL URL: http://127.0.0.1:54321/graphql/v1
  S3 Storage URL: http://127.0.0.1:54321/storage/v1/s3
          DB URL: postgresql://postgres:postgres@127.0.0.1:54322/postgres
      Studio URL: http://127.0.0.1:54323
      JWT secret: ...
        anon key: ...
service_role key: ...
Create .env.local:
Copy your API URL and anon key from above into the following file.
# zap/.env.local
SUPABASE_URL=<API URL>
SUPABASE_KEY=<anon key>Stop Supabase
When you are done using the backend, be sure to stop Supabase.
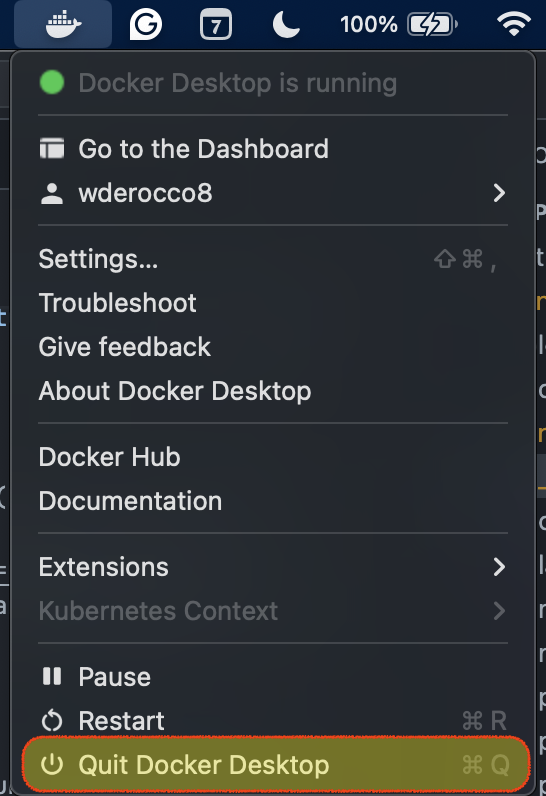
supabase stopDo I really need to run supabase stop?
Technically, you can quit Docker Desktop directly to stop the services, but running supabase stop is safer to avoid corruption or orphaned containers.
Just make sure to fully quit Docker Desktop or your CPU will want to kill you 😡.
MinIO
Following the dev/v4.0 release with our local-first development strategy, all development images are now stored in a local S3 emulator called MinIO. Fortunately, it is fairly straightforward and only requires a few commands.
Installation
- Install Docker Desktop
- See Docker Compose documentation for more information
- Install MinIO Client (mc) (if using Mac, I’d suggest installing with Homebrew -> reference)
Navigate to zap directory
cd zapStart MinIO
docker compose -d # -d is used to run in "detached" mode without taking over the terminalIf successfuly, you’ll see a message that looks like the following:
~ docker compose up -d
[+] Running 2/2
 ✔ Network zap_default  Created                                                                                           0.0s
 ✔ Container minio      Started
Add MinIO server to mc
This command only needs to be run once when using MinIO for the WhyPhi.
mc alias set local http://localhost:9000 minio minio123Create Bucket and Add Permissions
Run these commands to create the bucket and allow public access to the bucket
mc mb local/whyphi-zap                        # create bucket
mc anonymous set download local/whyphi-zap    # set permissions
View MinIO Data
To view your locally emulated data, MinIO offers a dashboard that can be found here:
Use the MINIO_ROOT_USER and MINIO_ROOT_PASSWORD found in zap/docker-compose.yml to login.
Stop MinIO
To stop MinIO simply run:
docker compose downIf you also want to remove all locally stored S3 data:
docker compose down -v # CAUTION: this command removes all local S3 data